


How to Lay Decorative Aggregates to Achieve the Perfect Finish
Laying decorative aggregates requires proper planning, ground preparation, and depth control to ensure a stable, long-lasting finish. Key steps include selecting suitable stone, measuring accurately, installing a weed membrane, adding a subbase where needed, spreading aggregates evenly to 40–50mm, and securing edges to prevent movement and future maintenance issues.
How to Lay Decorative Aggregates
From hard limestone in asphalt surfacing solutions for farms to using slate chippings for patios, aggregates are an essential component for a wide range of projects. Decorative aggregates are a subtype commonly used in landscaping projects, including driveways, footpaths, edge detailing, gardens, patios, and many other large landscaped areas.
The best part about decorative aggregates is that they’re fast to lay, with no need for curing times or specialist machinery. That said, knowing how to lay decorative aggregates correctly is essential to achieving the perfect finish. Skipping certain steps when laying decorative stones can lead to frequent maintenance issues further down the road.
Additionally, without proper ground prep or depth control, your landscaping project’s finish won’t last long. When decorative stones aren’t laid properly, you’ll find that the stones will start shifting, weeds will push through, and dips will start to form after a few months.
This how-to guide explores how to lay decorative stones step by step, covering everything from ground prep to final touches for a durable, aesthetically appealing finish.
Step 1 - Choose the Right Decorative Aggregates
Different stones suit different applications, making it essential to select the appropriate decorative aggregate for your project.
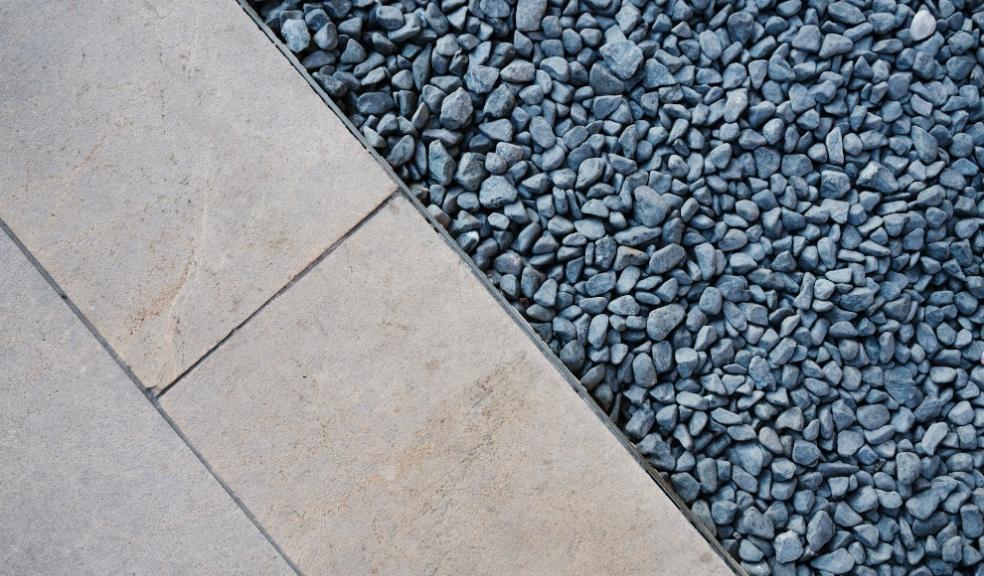
Angular aggregates, such as gravel or crushed stone, are ideal for driveways and paths due to their stability and grip. Smoother stones, like pebbles or slate chippings, are better for garden beds or patios due to their aesthetic appeal.
The colour and the size of these aggregates play a big role in determining the overall look of your landscape. Large stones create a bold texture that may be harder to walk on, whereas smaller stones offer a smoother, finer finish.
If you’re unsure about which stones to choose, it’s highly recommended to speak to your aggregate suppliers about the best materials and how to lay decorative aggregates properly.
Step 2 - Measure Your Material Requirements
Before making any purchase, measure your project area accurately with a tape measure. To work out how much you need, multiply the length by the width; this should give you the total area you need to cover.
Next, decide how deep the layer should be. For most decorative aggregate projects, a depth of around 40-50mm provides enough coverage and durability without wasting material.
Step 3 - Clear & Prepare the Ground
Before you lay your aggregate, make sure the surface is clear and flat. Remove all grass, weeds, debris, and loose soil. If the area is uneven, rake it over and level it as best as you can.
For weed control, you’ll want to lay down a membrane that lets water through while blocking weeds from pushing up. Cut it to size and trim around any edges or curves to keep your project running smoothly once the process begins.
Step 4 - Add a Solid Subbase (If Needed)
If you’re laying aggregates in a high-traffic area, like a driveway or path, you’ll need a solid subbase to withstand the pressure. To achieve this base, spread a layer of MOT Type 1 (or similar crushed hardcore) to a depth of 50-100mm (depending on your project’s needs) and rake it out evenly.
This provides a stable, firm foundation that helps prevent sinking and movement over time, keeping your landscape looking appealing for years to come. For purely decorative areas, such as borders or gardens, you can usually skip this step.
Step 5 - Lay the Decorative Aggregates
After all the groundwork, comes the satisfying bit: laying your decorative aggregates. Pour the aggregates carefully over the membrane, starting at one end and working across. Use a shovel or wheelbarrow to ensure the material is spread evenly.
Knowing how to lay decorative aggregates at the correct depth is one of the most crucial factors in achieving a solid, aesthetically pleasing result. Aim for a consistent depth as you go, and take your time during this step; even spreading helps avoid thin patches that could expose the membrane underneath.
Step 6 - Tidy the Edges & Add Final Touches
The edges make a big difference in how clean your final finish looks. Consider adding edging stones, timber borders, or metal edging to keep your landscape neat and prevent aggregates from spilling out.
Once that’s done, give the surface a final rake, check for any dips or peaks, and add more decorative stones where needed. If it’s a driveway or a high-traffic path, you might want to go over it with a plate compactor to bed everything in properly.
Give your aggregates a day or two to settle down before adding any other decorative elements on top. This will ensure your finish remains clean and consistent.
In Summary
Hope this guide helps you in laying decorative aggregates properly. Laying aggregates is a straightforward project when done correctly. Once the groundwork is laid, the base is prepped, and the right aggregate material is chosen, following these six steps can give your outdoor project a sleek, long-lasting look and finish.